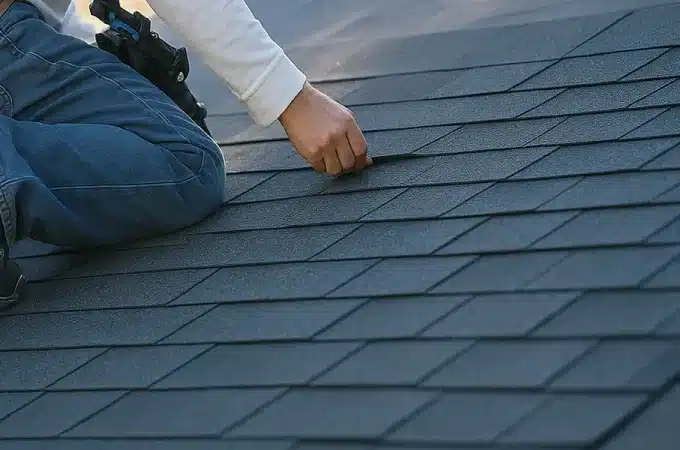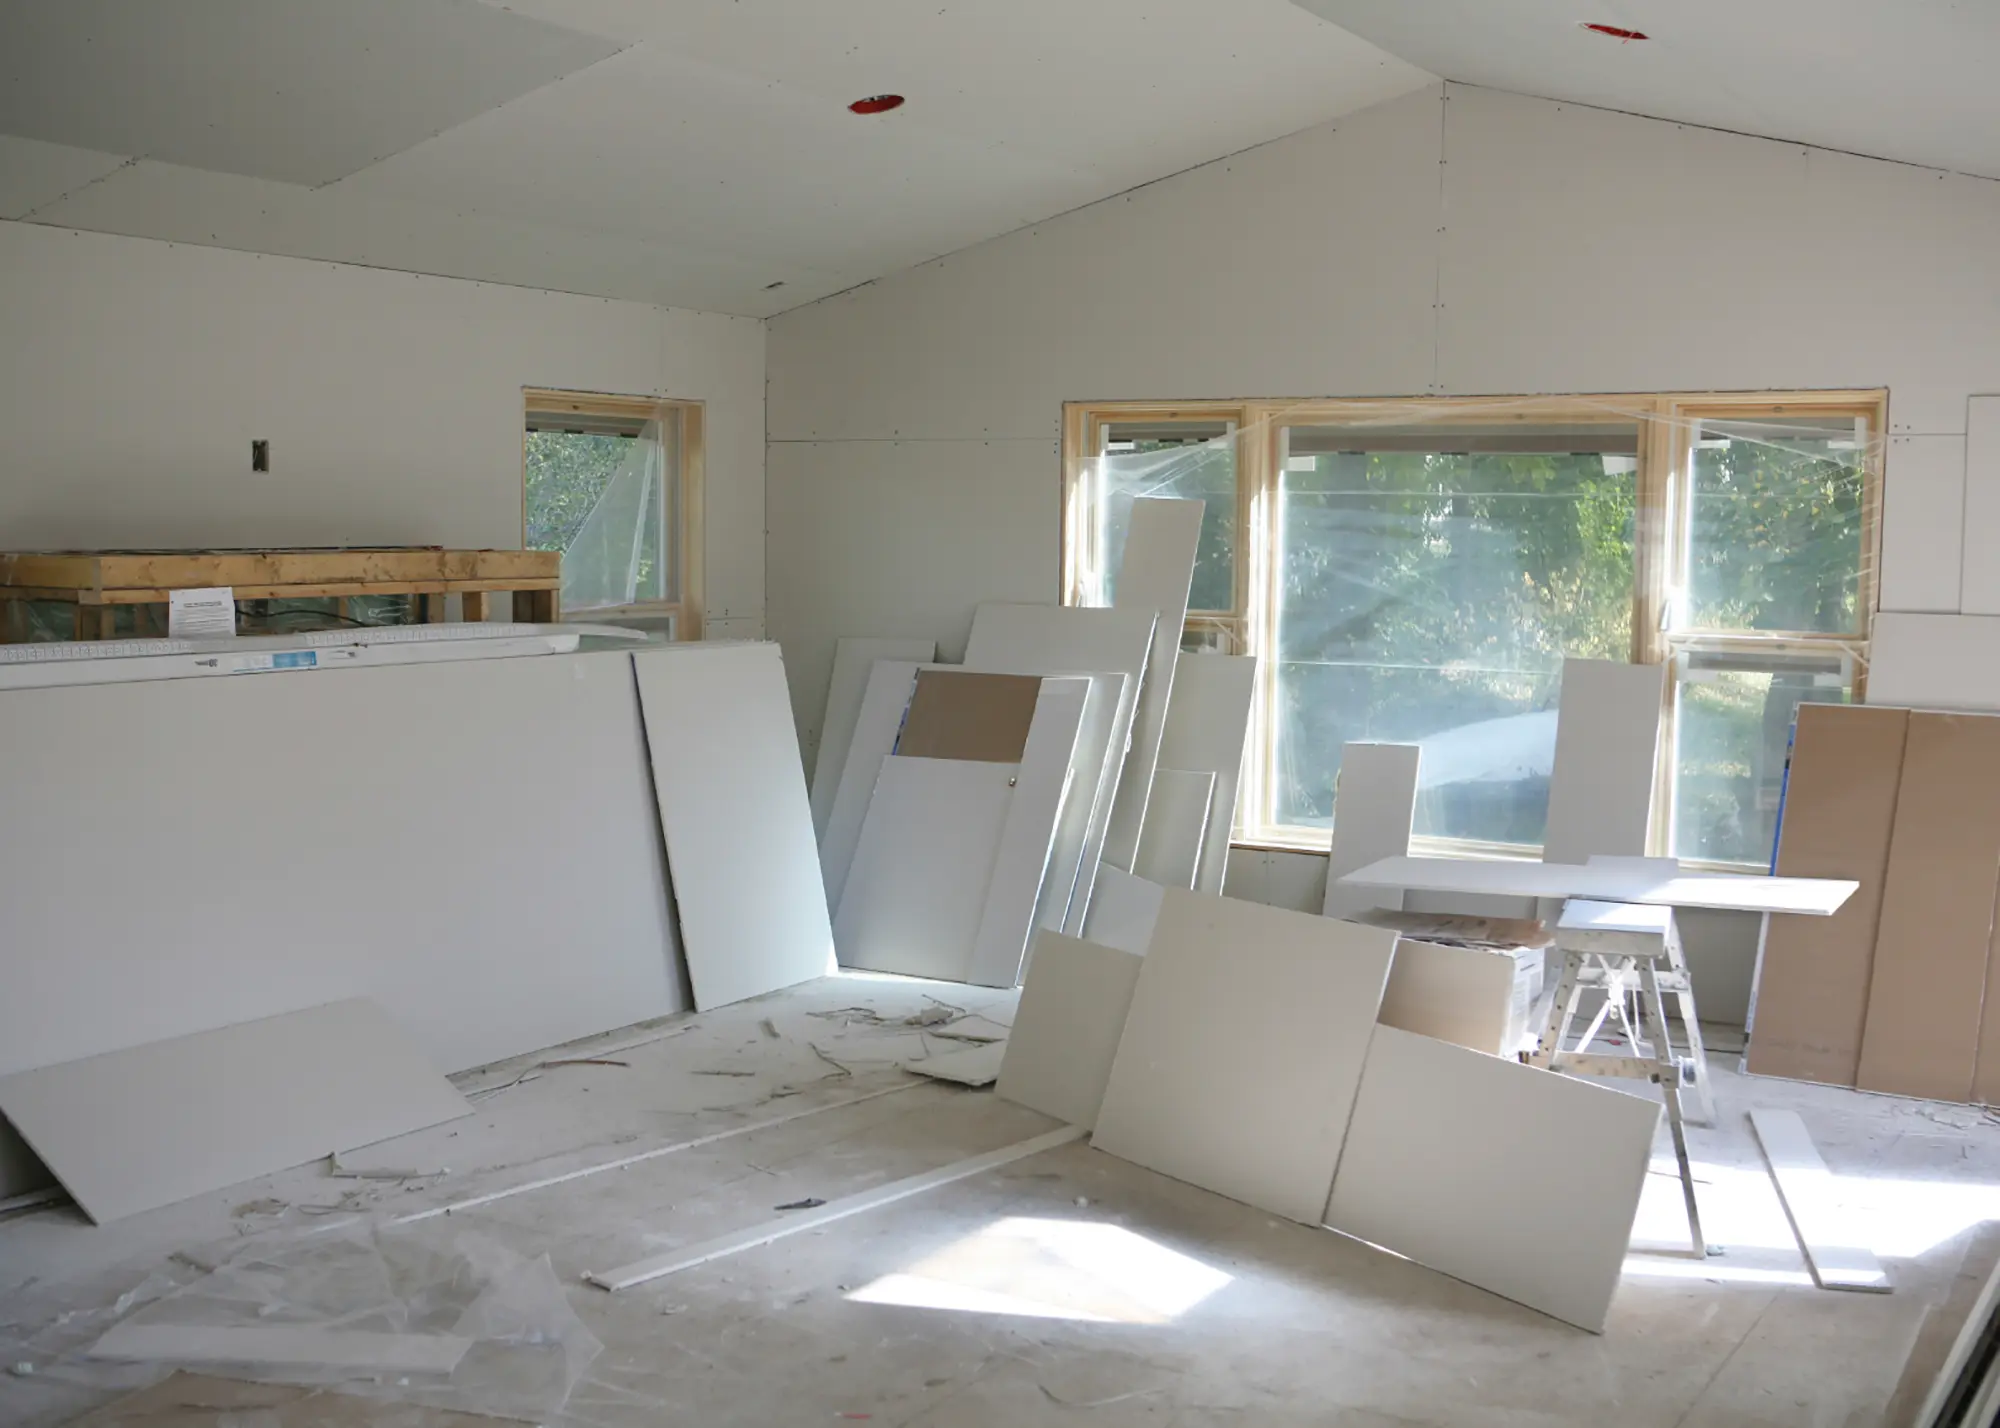
Tips & Advice When Installing Plasterboard In Your Home As A Novice
Embarking on a home improvement project can be a thrilling yet challenging experience, especially for those new to DIY. One task often crops up in such projects is installing plasterboard, a crucial step in creating smooth and flawless walls whether in an extension or loft conversion. Fear not if you are a novice eager to take on this task! In this guide, we will walk you through essential tips and advice to ensure your plasterboard installation is successful.
Gather The Right Tools & Materials
Before you dive into plasterboard installation, make sure you have all the necessary tools and materials at your disposal. These include plasterboard sheets, a utility knife, a straight edge, a measuring tape, a saw, screws, a screwdriver or drill, and a spirit level. Having the right equipment will streamline the process and ensure a more accurate and professional finish, helping you do the best job possible when you are dry lining a wall.
Brush Up On Your Skills
Even the most experienced DIY enthusiasts can benefit from brushing up on their skills before undertaking a project such as installing drylining. There are many places where you can get tips and advice on installing plasterboard and many other DIY tasks, and platforms like YouTube are excellent resources you can use. Once you have watched a few videos and understand the task you are undertaking, you can start getting prepared for the job and get ready to start.
Measure Twice, Cut Once
Precision is key when working with plasterboard, and accurate measurements can make all the difference and help you reduce wastage and save money on your project. Measure the space where you plan to install the plasterboard twice before making any cuts. This simple practice will save you from the frustration of errors and help you achieve a snug fit, particularly around corners and edges.
Choose The Right Plasterboard
Not all plasterboards are created equal, and choosing the right type for your project is crucial. Consider factors such as moisture resistance, fire resistance, and acoustic properties based on the room’s specific needs. Standard plasterboard suits most interior walls, but areas like bathrooms or kitchens may benefit from moisture-resistant options.
Ensure A Level Foundation
A level foundation is the cornerstone of a successful plasterboard installation. Use a spirit level to check that the wall or ceiling is even before attaching the plasterboard. Uneven surfaces can result in visible imperfections, so take the time to prepare the substrate properly.
Plan for Electrical Outlets and Fixtures
Before installing plasterboard, plan for electrical outlets and fixtures on the walls. Mark their locations on the substrate and cut openings in the plasterboard accordingly. This foresight will save you time and effort later and ensure seamless integration of electrical components into the finished wall.
Mind The Gaps
When installing plasterboard, leave small gaps (about 2-3mm) between sheets and around corners to accommodate for expansion due to temperature changes. This precaution prevents the plasterboard from buckling or cracking over time. Use plasterboard jointing tape to cover the gaps before applying the jointing compound for a smooth, seamless finish.
Secure With The Right Screws
Selecting the correct screws is crucial to the structural integrity of your plasterboard installation. Select corrosion-resistant screws designed for plasterboard, ensuring a secure and durable fix. The spacing of the screws is equally important; aim for approximately 150mm apart along the edges and 200-300mm in the field.
Tackling Corners & Edges
Achieving neat corners and edges is often a stumbling block for novice plasterboard installers. Use a straight edge and a sharp utility knife to make clean cuts along corners. Invest in corner beads for added reinforcement, which helps create crisp and professional-looking corners.
Mastering The Art Of Jointing
Jointing is where the magic happens in plasterboard installation. Apply a thin layer of jointing compound over the joints and screw indentations, followed by a layer of jointing tape. Once dry, sand the surface to achieve a smooth finish. Repeat this process for a second and even a third coat if necessary, ensuring each layer is completely dry before applying the next.
Take Your Time
As the saying goes, Rome was not built in a day, nor should your plasterboard installation. Patience is key to achieving a professional finish and ensuring you do the best job possible when installing plasterboard to your property. Allow sufficient drying time between jointing compound applications and resist the temptation to rush through the process. The result will be well worth the wait.
Installing plasterboard sheets may seem daunting for a novice with limited DIY experience, but you can confidently transform your living space with the right knowledge and tools. By following these tips and advice, you will be well on your way to mastering the art of plasterboard installation and creating walls that boast both form and function in your home. Ensure you have all the tools and materials you need and brush up on your DIY skills, and it can make the task much easier for you.