How to Install a Bathroom Shower Door: A Step-by-Step Guide
A bright, sparkling shower space can be the jewel of any bathroom renovation. A key to achieving this is a properly installed shower door that not only enhances the aesthetics but also seals in the serenity of the shower experience. For DIY enthusiasts and home renovators looking to elevate their bathrooms, installing a shower door is a project both rewarding and practical.
This detailed guide presented by Robertson Bathware is designed for those willing to get their hands a little wet to create a polished, professional-looking shower enclosure. We’ll walk you through the essential steps required to install a bathroom shower door, ensuring a secure fit and a resulting space that sparkles with precision and personal touch.
Introduction: Value in the Details
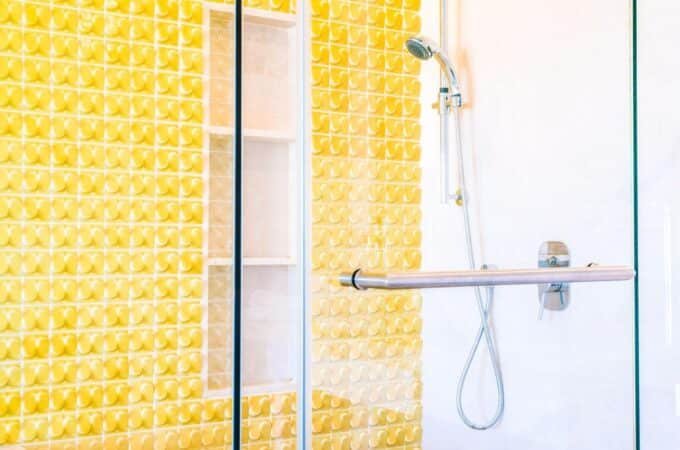
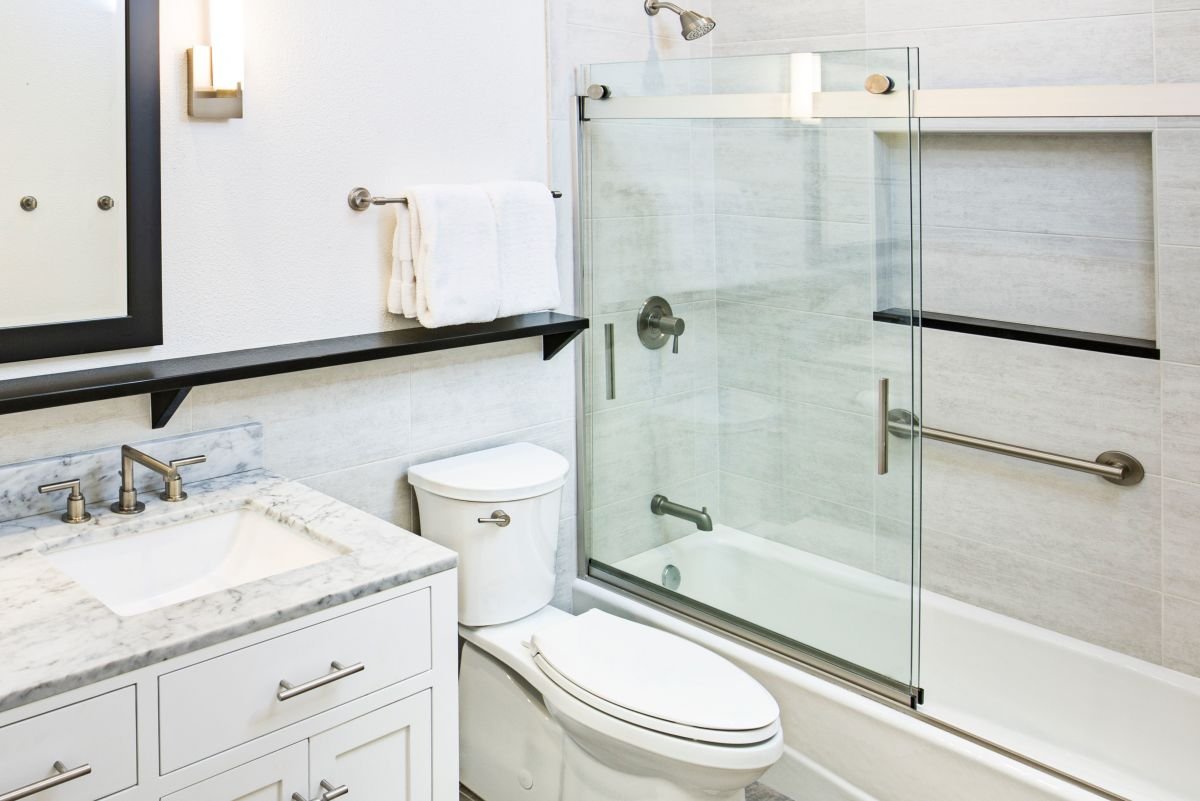
Installing a bathroom shower door is more than just a functional task – it’s an exercise in precision and design. A properly installed shower door, part of a shower enclosure, not only prevents water leaks and maintains the right humidity levels but also completes the look of your bathroom, enhancing visual space and creating a sense of privacy and comfort.
The devil is in the details here. Each step from measuring the door to the final adjustments needs to be followed meticulously to ensure the door not only fits but performs as expected.
In this blog post, we’ll explore the step-by-step approach to installing a bathroom shower door that makes your shower area the envy of your home, helping you to build the perfect shower.
Step 1: Gather the Required Tools and Materials
Before you get started on the project, it’s crucial to gather all the tools and materials you will need. Here’s a comprehensive list to get you on your way:
Tools
- Tape Measure
- Level
- Drill and Appropriate Bits
- Screwdriver – Flathead and Phillips-head
- Silicone Gun
- Hacksaw
- Safety Glasses
Materials
- Shower Door and Frame
- Anchors or Screws
- Silicone Sealant
- Painter’s Tape
- Corner Shims
- Vinyl Sweep for Bottom of Door
- Drip Rail
- Glass Spirits or Rubbing Alcohol
Having everything on hand will save you from interruptions and allow you to move smoothly through the installation process.
Step 2: Measure and Prepare
Accurate measurements are foundational to any successful shower door installation.
Measuring the Space
Use a tape measure to get the width and height of the space where the door will be installed. It’s always best to measure in multiple places to accommodate any variations in the wall or floor. Additionally, measure the clearance space – the distance from where the door or handle will be to the walls or other fixtures.
Preparing the Area for Installation
Ensure the area is clean and dry. Clean the walls and shower pan thoroughly as the shower door will adhere to these parts.
Next, protect the corners of the shower enclosure from being scratched by wrapping modest painter’s tape. The tape also acts as a protective barrier against water seepage.
Finally, check the walls with a level to determine if they’re plumb and use a level on the shower pan to verify it is level.
Step 3: Install the Door Frame
The frame will typically come in two parts: one for the fixed side and one for the hinged side. Installation begins with the fixed side:
Fixed Side Installation
- Position the fixed-side frame in the opening.
- Use the level to ensure it’s straight and plumb.
- Mark the wall at each set screw point.
- Drill pilot holes for the screws.
- Secure the fixed side to the wall using screws or anchors, as suggested by the manufacturer.
- Slide the drip rail onto the bottom of the fixed-side frame.
- Apply a bead of silicone to the painter’s tape and bottom track.
Hinged Side Installation
- Place the hinged-side frame on the bottom track.
- Level and mark the set screw points.
- Secure the hinged side just as you did the fixed side.
Step 4: Attach the Door
Attaching the door happens in two stages: mounting the hinges on the door casing and then placing the door in the frame.
Mounting the Hinges
- Position the hinges on the door in line with the pivot points.
- Mark the screw holes.
- Drill pilot holes into the door.
- Secure the hinges with screws.
Door Placement
- With the help of a helper, place the door on the thresholds of the side frame.
- Adjust the positioning as needed for a proper fit.
- Secure the door to the frame following the manufacturer’s instructions.
Step 5: Test and Adjust
With the door in place, it’s time for the most satisfying part of the installation: seeing it in action. However, it’s unlikely that everything is perfect on the first go, so here’s what to do:
- Test the swing of the door to ensure it meets the wall at the right spot for a watertight seal.
- Adjust the placement if necessary by loosening the set screws, making the adjustments, and then tightening them back up.
- Test the door again.
If the door meets the wall properly and swings without sticking, you’re in great shape. Seal the edges with silicone to ensure there are no gaps where water could escape, and you’ve completed a job well done.
Conclusion: A Shower of Satisfaction
A newly installed bathroom shower door is more than a utilitarian accessory—it’s a symbol of accomplishment and a personal touch that adorns your home. This is a project that, when done right, not only saves you money but also fills you with pride every time you enter your rejuvenating shower space.
If you’re willing to invest the time and precision, follow these steps thoroughly, and be patient with the adjustments. Your diligent approach to this DIY task will pay off in the form of a pristine bathroom upgrade.
By following this guide to the letter, you can confidently take on the task of installing a glass bathroom shower door. Remember, it’s about the details. Measure twice, cut once, and you’ll be marvelling at your handy work in no time.
FAQs
How much does a shower door cost?
The cost of a bathroom shower door can vary depending on the type of door and the quality of materials. On average, a simple framed sliding door may cost between £200 to £600, whereas a high-end frameless pivot door can cost upwards of £1,000 or more.
Can you install a shower door without drilling?
It is possible to install some types of bathroom shower doors without drilling holes. Look for doors that come with adhesive or magnetic systems that can be mounted without the need to drill into the walls or tile.
Can I install a shower door myself?
With the right tools, materials, and our detailed guide, installing a bathroom shower door is a project many DIY enthusiasts can tackle. However, it’s important to assess your skill level and comfort with the tools required before beginning the installation. If you’re not sure, it’s always best to consult a professional.