The Complete Guide to Installing Laminate Flooring
This guide serves as a trusted resource for those looking to embark on a successful laminate flooring installation journey. With its ability to mimic the natural beauty of hardwood, stone, or tile at a fraction of the cost, laminate flooring has become a go-to option for both practicality and style-conscious homeowners. In this guide, we will walk you through the ins and outs of laminate, offering expert advice and step-by-step instructions to ensure a seamless installation.
Understanding Laminate Flooring
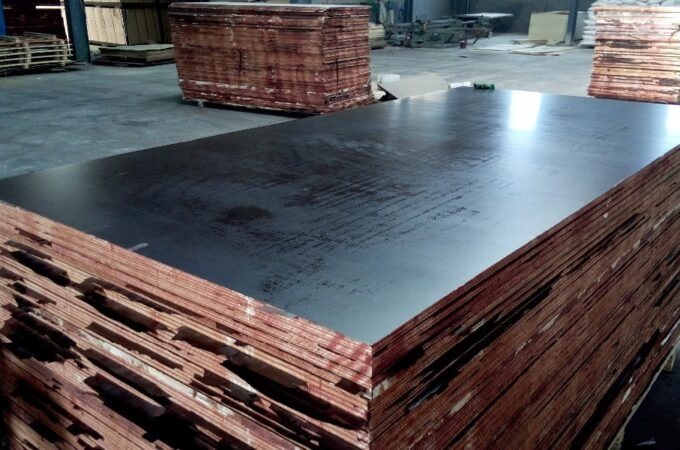
Laminate flooring is a versatile and budget-friendly alternative to traditional hardwood or stone flooring. Composed of multiple layers, laminate flooring combines a high-density fiberboard (HDF) core, a photographic layer that replicates the desired flooring style, and a protective top layer that offers durability and resistance against scratches, stains, and fading. This ingenious construction not only enhances the longevity of the flooring but also allows for an array of design options to suit various interior aesthetics.
Advantages of Laminate Flooring
- Affordability: Laminate provides an attractive solution for budget-conscious homeowners without compromising on quality or aesthetics. Its cost-effectiveness makes it a popular choice for those seeking to elevate their living spaces without breaking the bank.
- Durability: Built to withstand the demands of daily life, laminate flooring is highly resistant to scratches, dents, and stains. Its tough top layer acts as a protective shield, ensuring a long-lasting and resilient flooring solution.
- Versatility: Laminate offers a wide range of design options, allowing homeowners to achieve the look and feel of hardwood, stone, or tile without the associated maintenance and cost. Whether you desire the warmth of oak, the elegance of marble, or the rustic charm of reclaimed wood, laminate flooring can effortlessly transform any room.
Pre-Installation Preparation
Before diving into the installation process, proper preparation is crucial to ensure a successful and long-lasting laminate flooring project. Taking the time to prepare the subfloor and accurately measure the space will set the foundation for a seamless installation.
- Subfloor Preparation. A clean and level subfloor is essential for the stability and longevity of your flooring. Remove any existing flooring materials, ensuring the subfloor is free from debris, dirt, and uneven surfaces. Use a leveling compound or plywood to correct any imperfections. Additionally, perform a moisture test to identify and address any potential moisture issues.
- Measuring the Room. Accurate measurements are key to determining the amount of laminate flooring needed for your project. Measure the length and width of the room, accounting for any nooks, corners, or irregularities. Consider adding an extra 5-10% to your measurement to account for any mistakes or future repairs.
- Calculating Laminate Flooring Quantity. Laminate flooring is typically sold in boxes, with each box specifying the coverage area it can accommodate. Divide the total square footage of the room by the coverage area per box to determine the number of boxes required. Remember to account for the extra percentage added to your measurement.
Tools and Materials
Having the right tools and materials on hand is essential for a smooth and efficient flooring installation. Here are the essential items you’ll need:
- Laminate Flooring: Select high-quality laminate flooring that suits your desired style and meets your durability requirements.
- Underlayment: A quality underlayment provides sound absorption, moisture protection, and enhances the overall performance of the laminate flooring. Choose underlayment specifically designed for laminate flooring installations.
- Adhesive: Depending on the type of laminate flooring you choose, you may need adhesive for a secure installation. Follow the manufacturer’s recommendations for the appropriate adhesive to use.
- Transition Strips: Transition strips are used to create smooth and aesthetically pleasing transitions between different flooring materials or areas, such as doorways or between rooms.
- Measuring Tools: Ensure you have a tape measure, straightedge, and a square for precise measurements and accurate cuts.
- Cutting Tools: Laminate flooring requires cutting to fit around obstacles and edges. A circular saw, jigsaw, or laminate cutter can be used for this purpose.
- Installation Tools: Have a tapping block, pull bar, and spacers to assist with the installation process.
By preparing the subfloor meticulously and gathering the necessary tools and materials, you are setting yourself up for a successful and efficient laminate installation. Taking these steps ensures a solid foundation and enables a smooth transition to the next phase of the process.
Step-by-Step Installation Process
Installing laminate flooring requires a systematic approach to ensure precision and a professional finish. Follow these step-by-step instructions to achieve a successful installation:
- Acclimate the Laminate Planks: Before installation, allow the laminate planks to acclimate to the room’s temperature and humidity. This helps prevent warping or expansion after installation.
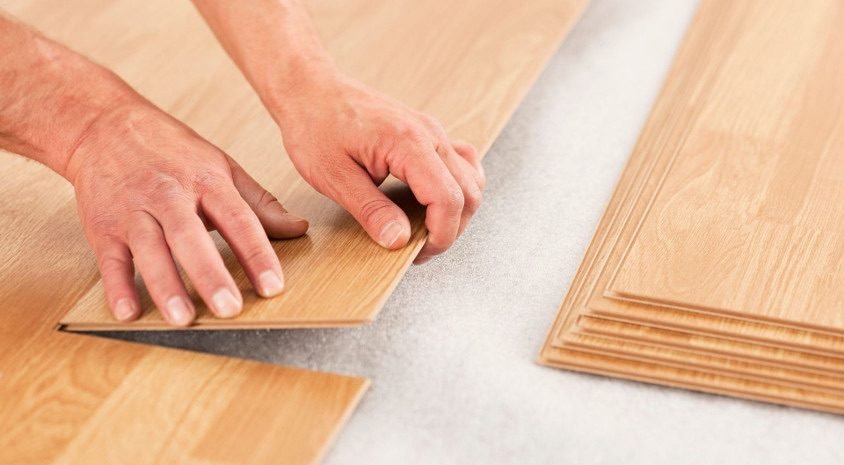
- Start with the First Row: Begin installation along a straight wall or the longest uninterrupted run in the room. Lay the first row of planks with the tongue side facing the wall, leaving a 1/4-inch gap between the planks and the wall for expansion. Use spacers to maintain consistent spacing.
- Cut and Fit Around Doorways and Obstacles: Measure and cut planks to fit around doorways, vents, and other obstacles. Leave a small gap for expansion and use transition pieces or undercut door jambs for a clean and professional appearance.
- Install the Subsequent Rows: Continue installing the subsequent rows, ensuring each plank is securely locked into place. Stagger the seams by starting each row with a longer plank than the previous row, typically at least 12 inches in length.
- Spacing and Alignment: Maintain consistent spacing between the planks using spacers. This allows for proper expansion and prevents buckling. Check alignment regularly to ensure straight rows.
- Corners and Transitions: Use a miter saw or coping saw to cut planks for corners. Install transition strips or moldings to create smooth transitions between rooms or different flooring types.
- Finishing Touches: Once all the planks are installed, remove spacers and fill the expansion gap with a color-matched transition or quarter-round molding. Install baseboards or shoe moldings to cover the expansion gap along the perimeter.
Tips and Tricks for a Successful Installation
Follow these additional tips and tricks to enhance your laminate installation experience:
- Stagger Seams: Staggering the seams of the laminate planks creates a more natural and visually appealing look. This helps distribute weight and reduces the risk of joint separation.
- Use Spacers: Spacers are essential for maintaining proper spacing between the planks and the wall. They ensure consistent expansion gaps and prevent buckling.
- Avoid Common Mistakes: Be mindful of common installation mistakes such as failing to acclimate the planks, neglecting to level the subfloor, or rushing the installation process. Take your time and follow the manufacturer’s instructions carefully.
- Proper Cleaning and Maintenance: Once the installation is complete, follow the manufacturer’s recommendations for cleaning and maintaining your laminate flooring. Regularly sweep or vacuum to remove dirt and debris, and use manufacturer-approved cleaning products for spills and stains.
- Seek Professional Help if Needed: If you encounter challenges or feel unsure about any aspect of the installation process, don’t hesitate to seek professional help. Flooring experts can provide guidance and ensure a flawless installation.
By following these step-by-step instructions and implementing these tips and tricks, you can achieve a successful and professional-looking installation. Remember to take your time, pay attention to detail, and enjoy the satisfaction of transforming your space with beautiful laminate flooring.
Post-Installation Care and Maintenance
Proper care and maintenance are essential to ensure the longevity and beauty of your laminate flooring. Follow these guidelines for post-installation care:
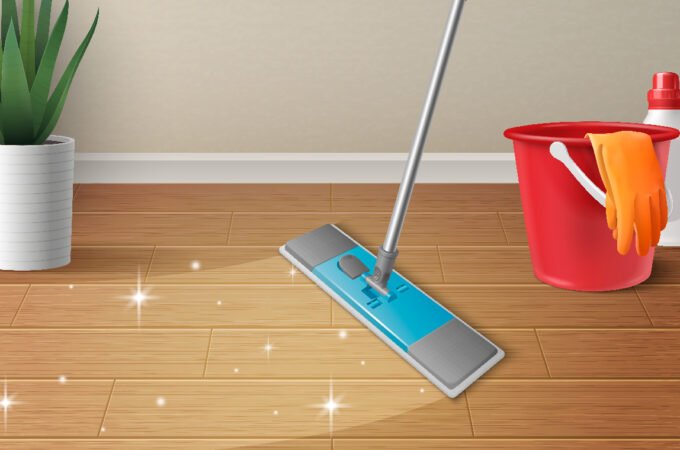
- Regular Cleaning: Sweep or vacuum your laminate flooring regularly to remove dirt, dust, and debris. Use a microfiber mop or a damp cloth for more thorough cleaning. Avoid excessive moisture and never wet mop laminate flooring.
- Protection Against Scratches: Place felt pads on the legs of furniture to prevent scratches when moving or rearranging items. Use doormats at entryways to trap dirt and grit that can scratch the floor. Avoid dragging heavy objects across the floor.
- Moisture Protection: Immediately clean up any spills or liquid accidents to prevent moisture from seeping into the laminate. Wipe up the spill with a soft, damp cloth and dry the area thoroughly.
- Minor Repairs: For minor scratches or scuffs, use a laminate flooring repair kit or colored wax crayon to fill in the damaged area. Follow the manufacturer’s instructions carefully.
Troubleshooting and Common Issues
Despite proper installation, you may encounter some common issues with laminate flooring. Here are solutions for addressing these problems:
- Buckling: Buckling can occur due to excessive moisture or incorrect installation. Identify and eliminate the source of moisture and consult a professional for corrective measures.
- Gaps: Gaps may appear between planks due to changes in humidity or inadequate expansion gaps. Use a flooring repair kit or consult a professional to address larger gaps.
- Damaged Planks: If you have damaged or severely scratched planks, you may need to replace them. Consult the manufacturer for matching replacement planks or seek professional assistance.
Summing Up
Installing laminate can transform your space with its affordability, durability, and aesthetic appeal. By following the step-by-step guide provided in this article and practicing proper care and maintenance, you can enjoy your laminate flooring for years to come. Remember, if you encounter challenges or have any concerns during the installation process, it is always wise to seek professional assistance. Embrace the beauty and benefits of laminate flooring and create a stylish and inviting space in your home.
Popular Questions on Laminate Installation
How long does it take to install laminate flooring?
Installation time varies based on the project’s size and complexity. It can take hours to a few days, depending on factors like preparation, measuring, cutting, and securing the planks.
Can laminate flooring be installed over existing flooring?
Laminate flooring can be installed over existing vinyl, linoleum, or hardwood, but not carpet. Ensure the surface is clean, flat, and in good condition.
Do I need underlayment for laminate flooring?
Underlayment is recommended for laminate flooring as it reduces noise, adds moisture protection, and enhances durability. Check manufacturer guidelines for specific requirements.
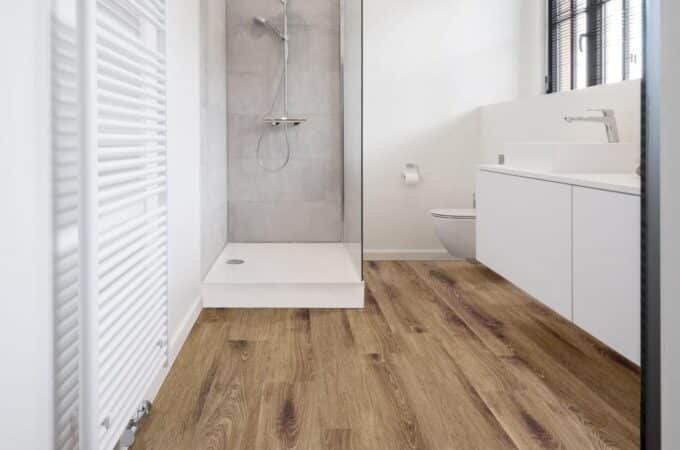
Can laminate flooring be used in bathrooms or kitchens?
Laminate flooring is not recommended for high-moisture areas like bathrooms or kitchens. Choose water-resistant or waterproof options designed for such areas.
How do I clean laminate flooring?
Clean laminate flooring with a damp mop or microfiber cloth using a mild, non-abrasive cleaner. Avoid excessive water to prevent damage. Clean up spills promptly.
Should I hire a professional or can I install laminate flooring myself?
While DIY installation is possible, professional help ensures proper techniques, accurate measurements, and seamless transitions. Consider professional assistance for complex projects or lack of experience.