How to Apply Veneer Sheets on Plywood: Step-by-Step Guide
Veneer is the perfect option to give plywood the rich appearance of real wood, while keeping costs down and ensuring a long-lasting product. Being widely used in the manufacture of furniture, wardrobes, cabinets, doors, and wall panels, veneer provides a high quality level without the need to use solid timber. However, in order to achieve a perfect outcome veneer needs to be applied correctly. Learning how to install veneer properly will allow you to avoid the common problems like bubbles, edges that are uneven, and not strong grip. If applied right, veneer on plywood will convert the ordinary surfaces into stylish interior items.
Prepare the Plywood Surface Thoroughly
The first step is to prepare the plywood carefully. Make sure the surface is clean, dry, and free from dust, grease or old coats. Sand the plywood lightly for it not to have any imperfections and provide a better surface for gluing. Measure your veneer beforehand in order for it to have a size that is a bit bigger than required, which allows to trim excess veneer after fixing it in position. Veneer pasting on plywood becomes much easier when the surface is properly prepared and results in better overall outcome.
Select the Right Adhesive and Position the Veneer
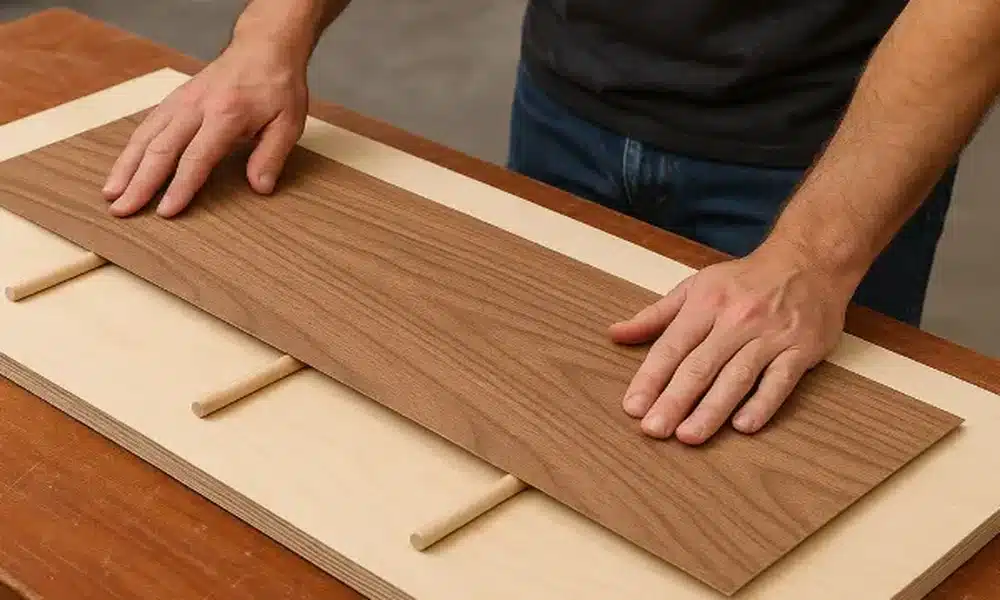
Choosing the right glue is very important if you want to achieve a good bond.In most cases, either contact glue, PVA glue, or special glue for the veneer is used – read the complete veneer sheet thickness guide to understand how thickness impacts adhesive choice, bonding strength, and trimming outcome across different plywood applications. Apply glue evenly to the plywood and place the veneer carefully onto the glued surface. When using veneer on plywood you should pay special attention to the alignment, as fixing the veneer after it has been glued is very difficult.
Press, Trim, and Finish for a Professional Result
After you have fixed the veneer on the plywood, you need to use a veneer roller or a wooden block to ensure that all the air is out. Allow the glue to dry properly and trim away the excess veneer using the knife or a router. At the end, sand the edges lightly for the perfect finish and apply one of the types of protective coatings such as lacquer, oil or polyurethane.Essentially, it is very important to know how to install veneer because this makes it much easier to maintain the surface.
Choose Premium Veneer for Better Results
The look and durability of the result depend a lot on the type of veneer you choose. The best option for this job is premium veneer, which provides the same pattern of wood grain, better grip, and lovely appearance. In case you want to be sure of successful veneer pasting on plywood, Royale Touche offers an excellent range of premium veneer sheets including natural log-sawn, engineered, and smoked options that provide consistent grain patterns, better grip, and refined finish for plywood applications.
Conclusion
The combination of all the mentioned aspects guarantees that the job will be successfully done. The only thing you need to remember is to pay attention to every step from preparing the surface to the veneer being ready as it allows achieving the proper result in every case.