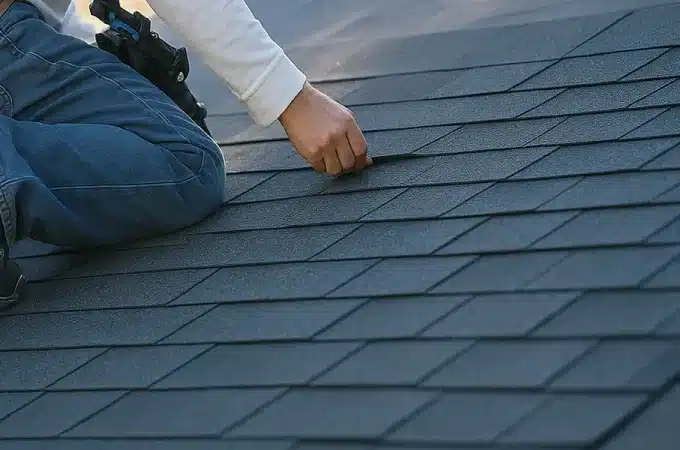
Floor Tile Adhesive: What Should First-Timers Keep in Mind?
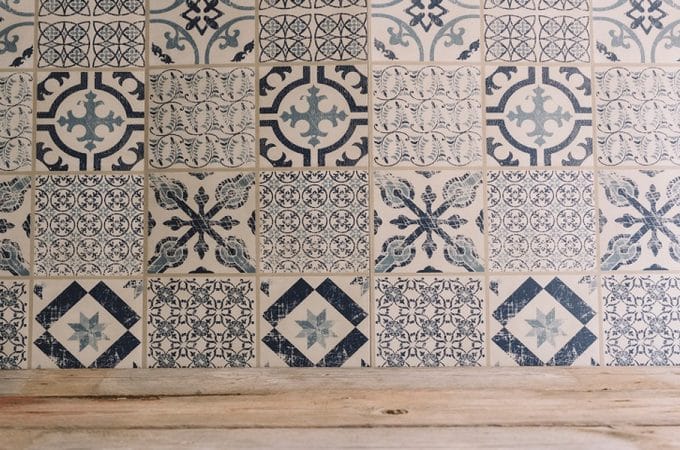
Floor tiles are a popular element of interior design. This is largely because there is an increasing inclination towards flooring that is easy to maintain, and tiled floors are super easy to keep clean and beautiful. Another important reason for tiles’ popularity is the design flexibility. There are a plethora of designs, styles, and texture options available so you can choose what falls within your budgetary and aesthetic requirements. If you’re planning a DIY job or would simply like to educate yourself before hiring a contractor, the following guide will show you how to use floor tile adhesive the right way so you can get the stunning result you’re after.
What Is Floor Tile Adhesive?
If you are new to floor tiling, then you might not be aware of the different types of materials that are required for the completion of a tiling project. Frankly, there isn’t a lot that is required but some of the essentials include floor tiles, tiling adhesive, notched trowels, buckets, drill bits and a few more items. The most important item in this list is floor tile adhesive as its selection is paramount to ensuring the durability and aesthetic appeal of your flooring.
What Floor Tile Adhesive Do I Need?
When tiling, a layer of paste is spread on the surface which bonds the tile to the floor. This paste is called floor tile adhesive. One of the most important concerns people have when attempting a floor tiling DIY is figuring out which adhesive is best. To address this concern, you must decide what type of tiling is the most suitable for your project. Once you have the answer to this question, simply find the tile adhesive that best suits the tiling job you’re undertaking.
You also need to consider the space being tiled. The type of adhesive used is different for indoor and outdoor spaces. Primarily there are two types of adhesives, thinset mortar and epoxy tile mortar.
Thinset Mortar for Wet & Damp Areas
Thinset mortar offers a multitude of benefits as it provides a tight bond and is highly resistant to moisture. This type of tiling prevents the growth of mould and is therefore the preferred adhesive for tiling bathrooms and wet spaces. Thinset is made using portland cement and silica sand as well as moisture retaining agents. There are two minor cons of using thinset — one, it can crack, and two, you may need to add some additives to improve its strength.
Epoxy Tile Mortar for Strong Bonds
Epoxy tile mortar offers its own set of benefits. This adhesive sticks well to resin-backed surfaces, offers high compressive strength, provides a strong bond, and works well with wet surfaces.
However, it has its own set of cons as well. For instance, epoxy tile mortar is on the slightly expensive side of the price spectrum. It also needs to be at a high temperature for installation and sets quite quickly with a pot life of barely 45 minutes. This means you cannot mix large quantities of adhesive, and you will have to work fast to get it all done within the specified timeframe. On the other hand, setting quickly means you can move onto the grouting stage sooner, which is very convenient.
Regardless, you should keep in mind that professional tilers use epoxy mortar while DIYers tend to avoid this adhesive.
How to Apply Floor Tile Adhesive Properly
Proper application of adhesive to a floor is extremely important to ensure the longevity of your floor tiling. Tile application is a basic 3-step process.
Step One: Prepare the Surface
The first step involves preparing the floor. Clean the floors and ensure that you have a uniform surface to work on. If there are any cracks in the surface, fill those up with the required materials (not adhesive). You can always check the evenness of the flooring using a level.
Step Two: Mix Up Your Adhesive
Once you are sure you have an even surface, you can begin preparation of the adhesive for application. Mix the adhesive, paying attention to the amounts recommended by the manufacturer.
Step Three: Apply Your Adhesive
Using a notched trowel, layer the adhesive in thick layers of approximately 3 mm to the floor in a quadrant. Then gently, but quickly, place the tile. Repeat this step until the tiling is done.
A Few Expert Tiler’s Tips for Adhesive Application
It takes practice to get used to working with floor tile adhesive and your first few projects may not run as smoothly as you’d like. However, we’ve got some hard-earned tips to help you fasttrack your tiling tuition.
Follow the Manufacturer Guidelines to Get the Best Results
Every adhesive comes with a set of instructions that are provided and approved by the manufacturer. You should go through them thoroughly, line by line, and mix the product accordingly. A rule of thumb is to mix packet-sized quantities.
Be Prepared Before You Get to Work
Before you begin tiling, make sure you have all the required tiling equipment, such as applicators and trowels, at your disposal. This is important because once the adhesive is mixed, you will not have time to get equipment from another room or work area. If multiple people are working on the same property, it is crucial that you have enough to go around.
Use a Mixing Drill for Better Results
Mix the adhesive using a mixing drill, as this tool allows the chemicals to mix uniformly and spread easily on a tiling surface. Sometimes inexperienced tilers try to mix the adhesive by hand, which is a disaster as the adhesive starts to set before it’s mixed properly. Besides creating a mess, this method also results in material being wasted. You’re looking for a consistency like that of a thick and creamy peanut butter.
Only Mix Small Amounts at a Time to Save on Wastage
Do not mix more than you can tile in 20 minutes, because when you do this, the adhesive starts drying too soon and the tiles will not stick.
Make Sure the Surface Is Even
Ensuring the floor is even extremely important for two reasons. One, a tile placed on an uneven surface is likely to break, which spoils the design and makes the space unsafe. Secondly, unevenly placed tiles can easily trip someone over.
Take Measures to Prevent Your Adhesive From Drying Out
A challenge that tilers often face is the adhesive drying out quickly. A solution to this is to store adhesive in a jar with rice, as rice is a natural desiccant. Another desiccant you can use is cat litter. Just don’t mix your desiccant with the adhesive!
Invest in New, High-Quality Stock
It is also good to be aware that floor tile adhesive can become too old or expire. When it does, it won’t sufficiently stick, and even if it does stick, it will take too long to dry. Do not be enticed by cheaply priced old adhesive — always opt for new stock or adhesive that has a best before date placed far into the future.
Find Tile Adhesive Online!
Whether you’re on the lookout for stone, tiling, grouting or caulking supplies or tools, Online store is a suitable place to go. They have all your essential tiling supplies, including floor tile adhesive. With their help, you can tackle that tiling project with ease, whether you’re an old hand with floor tile adhesive or this is your first DIY job.