The Ultimate Guide to Unclogging Any Bathroom Sink
Identifying the Culprit: Common Causes of Bathroom Sink Clogs
Before we can effectively tackle a bathroom sink clog, it’s crucial to understand what causes them. Most of us assume it’s just “stuff,” but identifying the specific culprits helps us choose the right solution and prevent future blockages.
At the heart of most bathroom sink issues is a combination of everyday items that, over time, create stubborn obstructions. Research consistently shows that hair buildup is one of the leading causes of clogs in bathroom drains and pipes. But hair rarely acts alone.
Why Hair and Soap Scum Are a Bad Combination
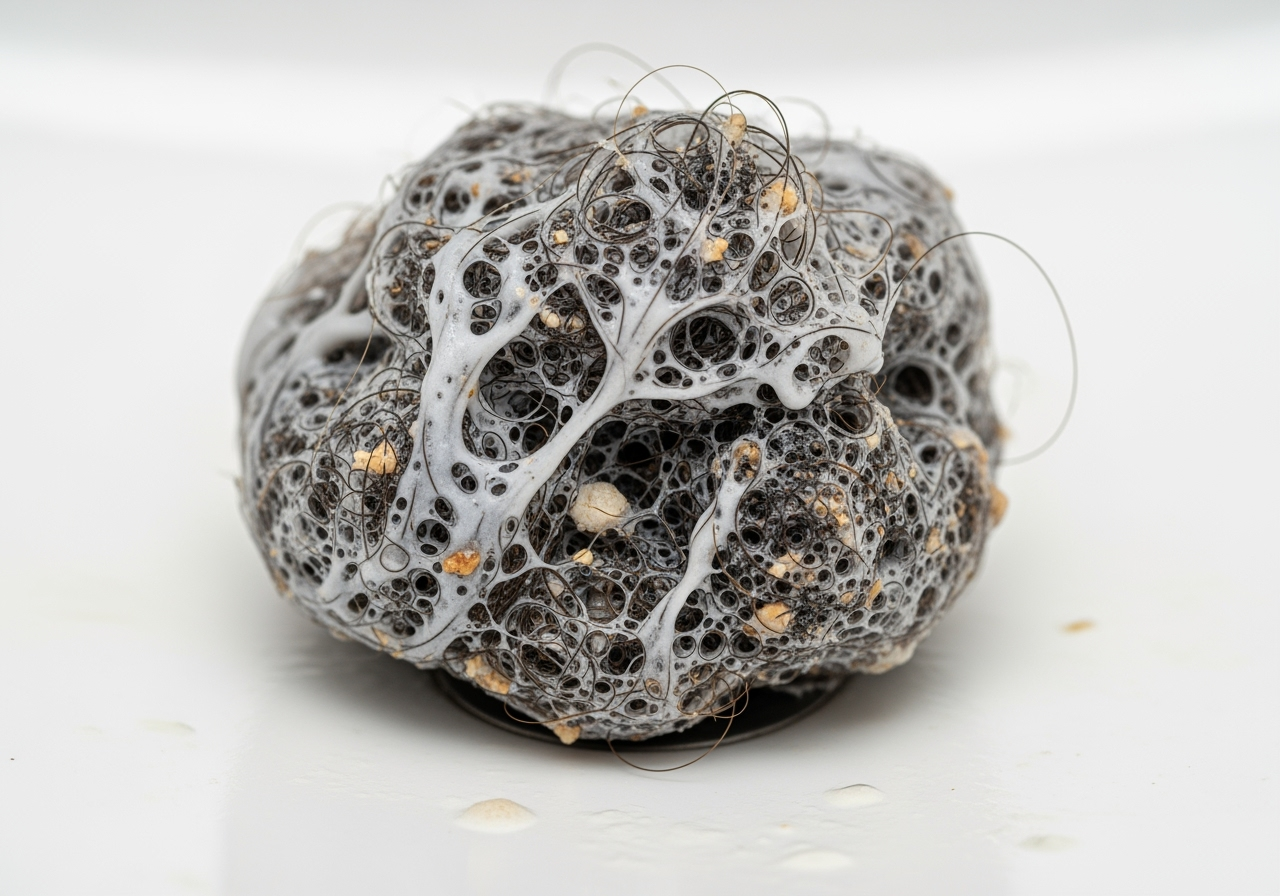
Imagine strands of hair forming a net. Now, picture soap scum, toothpaste, and other grime adhering to that net, creating a sticky, dense mass. This is precisely what happens in your bathroom drain. In most cases, clogs consist of a combination of hair, soap, and dirt.
Soap scum, a residue formed when soap reacts with hard water minerals, acts as a binding agent. It clings to hair, creating a formidable, almost impenetrable barrier within your pipes. This gradual buildup reduces the diameter of your drainpipe until water can no longer pass through freely, leading to that frustrating slow drain or complete blockage.
Other Debris That Blocks Your Drain
While hair and soap scum are the primary offenders, other items contribute significantly to bathroom sink clogs:
- Toothpaste and Grime: Thick toothpaste, especially when not fully rinsed, can dry and harden, accumulating within the pipes. Combined with other grime, it adds to the sticky mass.
- Beauty Products: Lotions, creams, and makeup can wash down the drain and contribute to the sticky residue that traps hair.
- Shaving Cream: While mostly water, the residue from shaving cream can also contribute to the buildup, especially if it contains oils or waxes.
- Small Foreign Objects: Accidental drops like earring backs, jewelry, small toy pieces, or even bottle caps can get lodged in the drain, acting as a dam that catches all other debris.
- Mineral Deposits from Hard Water: In areas with hard water, minerals can precipitate out and cling to the inside of pipes, narrowing the passage and providing more surfaces for hair and soap scum to latch onto.
Understanding these common causes empowers us to take targeted action, whether it’s a simple DIY fix or a more advanced approach.
Your DIY Toolkit: Simple Methods for Clearing a Clogged Sink
When faced with a stubborn bathroom sink clog, our first instinct might be to panic or reach for the phone to call a plumber. However, many clogs can be resolved with a few common household items and some basic tools. Starting with the simplest methods often saves time and money.
Here’s a list of essential items for your DIY unclogging toolkit:
- Plunger: Specifically a small cup plunger designed for sinks.
- Baking Soda and White Vinegar: Our eco-friendly cleaning duo.
- Drain Snake (or Zip Tool): A flexible tool for mechanical retrieval.
- Bucket: To catch water and debris, especially when working under the sink.
- Gloves: For hygiene and protection.
- Rags or Towels: For cleanup and sealing.
- Adjustable Wrench or Channel-Lock Pliers: For cleaning the P-trap (if needed).
Always prioritize safety. Wear gloves, protect your eyes if using chemicals (even natural ones), and ensure good ventilation.
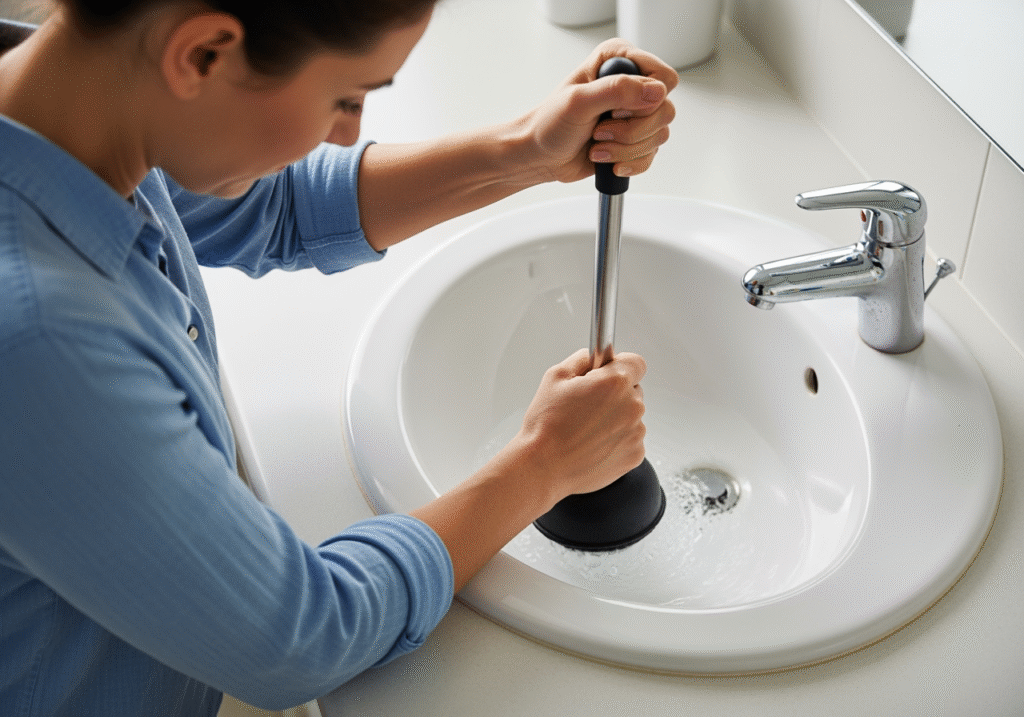
Method 1: The Plunger Technique
The plunger is often the first line of defense against a clogged sink, and for good reason. It’s simple, effective, and readily available. Plunging or using a zip tie can eliminate a bathroom sink clog up to 70 percent of the time.
How a Plunger Works: A plunger works by creating a vacuum seal around the drain opening. When you push down, you force water and air into the pipe, creating positive pressure. When you pull up, you create negative pressure (suction). This back-and-forth motion dislodges the clog by pushing and pulling it until it breaks apart or moves further down the pipe.
Using a Sink Plunger (Not a Toilet Plunger): It’s important to use the right tool for the job. A flat-bottomed cup plunger is ideal for sinks, as it creates a better seal over the flat drain opening compared to the flanged toilet plunger.
Step-by-Step Plunging Instructions:
- Clear the Area: Remove any standing water from the sink. If there’s a lot, scoop some out into a bucket.
- Remove the Stopper: If your sink has a pop-up stopper, remove it to ensure a clear path for the plunger.
- Fill with Water: Add enough water to the sink to cover the rubber rim of the plunger. This helps create a tight seal.
- Seal the Overflow Drain: Most bathroom sinks have an overflow hole. To maximize suction, plug this hole with a wet rag or towel.
- Position the Plunger: Center the plunger firmly over the drain opening, ensuring a complete seal.
- Plunge Vigorously: Push down firmly to expel air, then pull up sharply. Repeat this pushing and pulling motion 10-15 times. The goal is to create strong pressure changes.
- Check Drainage: Remove the plunger and see if the water drains. If it’s still slow, repeat the process a few more times.
Method 2: The Natural Fizz – Baking Soda and Vinegar
For those seeking an eco-friendly solutionor if plunging hasn’t quite done the trick, baking soda and vinegar offer a gentler, yet effective, approach. This method is particularly good for breaking down soap scum and minor organic clogs.
Chemical Reaction Explained: When baking soda (sodium bicarbonate) and vinegar (acetic acid) mix, they create a fizzy chemical reaction. This reaction produces carbon dioxide gas, which can help break apart and dislodge soft clogs. The mild acidity of the vinegar can also help dissolve grease and grime. For more surprising uses of baking soda around the house, you can Click here for 31 Surprising Uses for Baking Soda.
Step-by-Step Instructions for Use:
- Remove Standing Water: If there’s standing water, remove as much as possible from the sink.
- Pour Baking Soda: Pour about ½ cup of baking soda directly down the drain. Try to get as much as possible into the drain opening.
- Follow with Vinegar: Immediately pour 1 cup of white vinegar down the drain. You’ll hear and see the fizzing reaction.
- Cover the Drain: Quickly cover the drain with a stopper or a wet rag to contain the chemical reaction and force the fizzing action deeper into the pipe.
- Wait: Let the mixture sit for 15-30 minutes, or even longer for tougher clogs (up to an hour).
- Flush with Boiling Water: After waiting, remove the cover and carefully pour a kettle of boiling water down the drain. The hot water helps flush away the loosened clog material. Exercise caution with boiling water, especially if you have PVC pipes or a porcelain sink, as extreme heat can cause damage. If you have plastic pipes, use very hot tap water instead of boiling water.
Method 3: Using a Drain Snake or Zip Tool
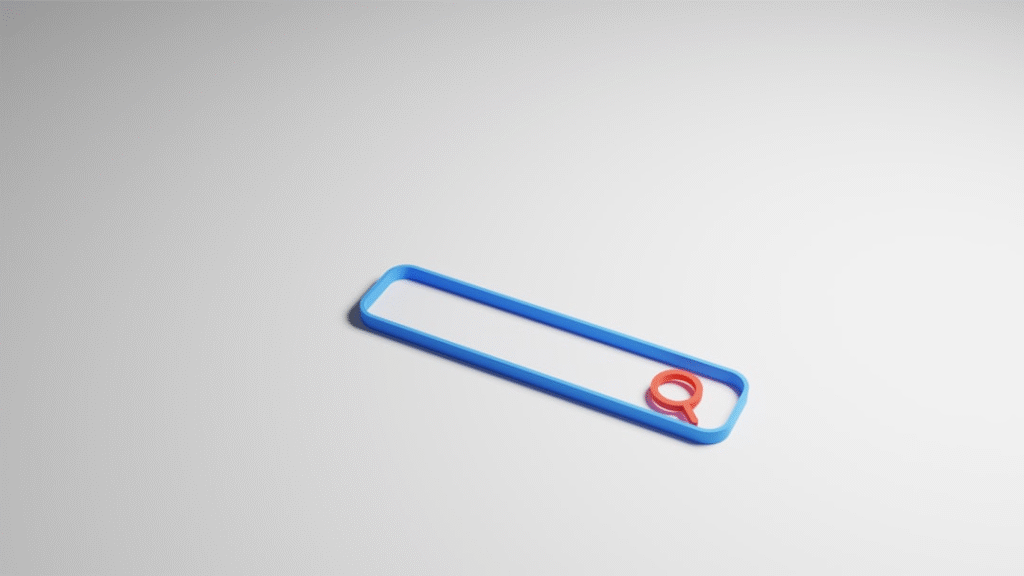
When plunging and natural solutions aren’t enough, it’s time for a more direct approach: mechanical removal. This is where a drain snake or a specialized zip tool comes in handy. These tools are particularly effective for hair clogs that are just out of reach.
A popular and highly effective option for hair is a drain clearing tool like a “Zip-It” drain cleaner. This tool is a thin, flexible plastic strip with barbs along its edges, designed to grab hair and other debris. You can find these at most hardware stores or even online, for example, on Amazon.
Step-by-Step Guide to Snaking a Drain (with a Zip Tool or Small Hand Snake):
- Remove the Stopper: If your sink has a pop-up stopper, remove it completely to gain full access to the drain opening.
- Insert the Tool: Carefully insert the zip tool or hand snake into the drain opening. Push it down until you feel resistance, which likely indicates the clog.
- Maneuver and Grab: For a zip tool, gently push and pull, twisting it as you go. The barbs will catch onto hair and gunk. For a hand snake, crank the handle to extend the cable and rotate it to hook onto the clog.
- Retrieve the Clog: Slowly and carefully pull the tool back out of the drain. Be prepared for a potentially unpleasant sight – you’ll likely pull out a significant amount of hair, soap scum, and other debris.
- Dispose of Debris: Have a paper towel or trash bag ready to immediately dispose of the retrieved gunk.
- Flush the Drain: Run hot water down the drain for several minutes to flush away any remaining loosened debris.
Advanced DIY & Royal Plumbing Sink Clog Advice: Cleaning the P-Trap
If the above DIY methods haven’t fully cleared your bathroom sink clog, the obstruction might be located deeper within the plumbing system, specifically in the P-trap. Understanding this component is key to advanced DIY unclogging.
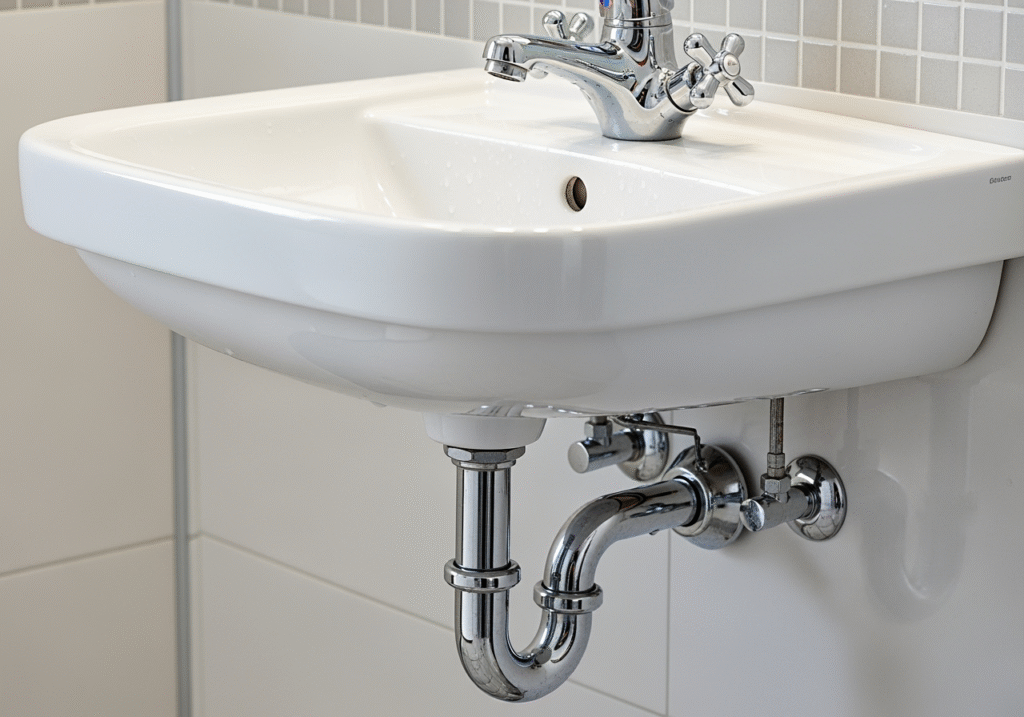
What is a P-trap? The P-trap is the curved, U-shaped section of pipe located directly beneath your sink. Its primary function is to hold a small amount of water, creating a seal that prevents unpleasant sewer gases from entering your home through the drain. The P-trap, a curved pipe under the sink, can collect hair and other debris, causing a clog. Because of its shape and purpose, it’s also a common collection point for hair, soap scum, and other heavy debris that makes it past the initial drain opening.
Tools needed:
- Bucket
- Rags or old towels
- Channel-lock pliers or an adjustable wrench (for stubborn nuts)
- Gloves
- Old toothbrush or bottle brush (for cleaning)
Step-by-Step Guide to Cleaning Your P-Trap
Cleaning the P-trap can be a bit messy, but it’s a highly effective way to remove deep-seated clogs.
- Prepare Your Workspace: First, ensure the water supply to the sink is off. Then, clear out everything from the cabinet beneath the sink to create ample working space. Position a bucket directly underneath the P-trap to catch any water and debris that will spill out. Lay down rags or old towels for extra protection against spills. For a visual guide on setting up your workspace, you can refer to this advice: Turn off the water, clean out everything underneath the sink, position a bucket for excess water, and close the stopper completely.
- Loosen Slip Nuts: The P-trap is typically held in place by two large slip nuts – one connecting it to the tailpiece of the sink and another connecting it to the drainpipe leading into the wall. Try to loosen these by hand first. If they’re too tight, use your channel-lock pliers or adjustable wrench. Turn counter-clockwise.
- Remove P-Trap and Drain Water:Once the nuts are loose, carefully remove the P-trap. Be mindful that it will contain standing water and likely a significant amount of gunk. Allow the water and debris to drain into your prepared bucket.
- Clean the P-Trap: Now comes the “gross part,” as one plumbing expert put it: Now here comes the gross part, but you really have to do this. Use an old toothbrush or a bottle brush to thoroughly clean the inside of the P-trap, removing all hair, soap scum, and other debris. You might also want to inspect the tailpiece (the pipe coming down from the sink) and the drainpipe leading into the wall for any visible obstructions and clean them as best you can.
- Reassemble the Pipes: Once clean, carefully reattach the P-trap, ensuring the slip nuts are tightened securely by hand. Avoid over-tightening with tools, as this can crack plastic pipes.
- Test for Leaks: Turn the water supply back on and run water into the sink. Fill the sink partially and then let it drain, observing the P-trap connections closely for any leaks. If you see drips, gently tighten the slip nuts a little more.
A Note on Chemical Drain Cleaners
Chemical drain cleaners are a common go-to for many homeowners, promising quick and easy solutions. However, we approach them with caution.
Effectiveness vs. Risks: While some chemical drain cleaners can dissolve hair and grease, their effectiveness often comes with significant risks. Many contain highly corrosive chemicals (like sulfuric acid or lye) that generate heat. This heat can soften or even melt PVC pipes, leading to leaks or bursts. They can also damage older metal pipes, corroding them over time.
Safety Hazards: These powerful chemicals pose a serious safety risk to users. Skin contact can cause severe burns, and inhaling fumes can be harmful. If they don’t clear the clog, the standing chemical-laden water in your sink becomes a hazard for anyone attempting a manual fix afterward.
Environmental Impact: The chemicals eventually enter the wastewater system, potentially harming aquatic life and interfering with water treatment processes.
When to Consider as a Last Resort: We recommend exhausting all other DIY methods before considering a chemical drain cleaner. If you must use one, choose an enzymatic cleaner, which uses bacteria to digest organic matter and is much gentler on pipes and the environment. Always follow product instructions carefully, ensure good ventilation, and never mix different chemical cleaners.
Long-Term Solutions: Prevention and Knowing When to Call a Plumber
Successfully clearing a bathroom sink clog is a victory, but the ultimate goal is to prevent them from happening again. Proactive maintenance is key to keeping your drains flowing freely and avoiding future headaches. Equally important is recognizing when a problem is beyond DIY solutions and requires the expertise of a professional plumber.
How to Prevent Future Bathroom Sink Clogs
Prevention is always easier (and cheaper) than repair. By adopting a few simple habits, you can significantly reduce the likelihood of future clogs:
- Use a Drain Catcher: The simplest and most effective preventative measure. Install a mesh drain catcher or screen over your sink drain to trap hair and larger debris before it enters the pipes. Clean it regularly.
- Regular Hot Water Flushes: Once a week, flush your sink drain with very hot tap water for a few minutes. This helps to melt and wash away minor grease and soap scum buildup before it can harden.
- Avoid Pouring Grease or Oils: While less common in bathroom sinks than kitchen sinks, avoid rinsing anything oily or greasy down the drain. These substances solidify as they cool, clinging to pipe walls and catching other debris.
- Monthly Cleaning with Baking Soda and Vinegar: Even if your drain isn’t clogged, a monthly baking soda and vinegar treatment (as described in Method 2) can help keep pipes clear by breaking down minor buildup.
- Be Mindful During Grooming: When shaving, try to collect hair clippings in the trash rather than rinsing them down the sink. Brush your hair before washing your face or styling to reduce loose strands entering the drain.
- Clean Your Stopper Regularly: The pop-up stopper itself is a magnet for hair and soap scum. Remove it monthly and clean off any accumulated gunk.
Signs of a Deeper Problem & Royal Plumbing Sink Clog Advice
While many clogs are easily resolved with DIY methods, some indicate a more serious underlying plumbing issue. Knowing these signs can help you decide when to stop troubleshooting and call a professional.
- Persistent Clogs: If your sink clogs frequently, or if a clog returns shortly after you’ve cleared it, it suggests the problem isn’t just a simple blockage but something more deeply rooted in your plumbing system.
- Multiple Slow Drains: If not just your bathroom sink, but also your bathtub, shower, or even toilets are draining slowly, it’s a strong indicator of a blockage in your main sewer line, not just an isolated fixture.
- Foul Sewer Odors: Persistent, unpleasant odors emanating from your drains can signal a blockage that’s trapping waste, or a problem with your P-trap or vent system.
- Gurgling Sounds from Drains:Gurgling noises, especially when water drains from another fixture, can indicate trapped air in the plumbing system, often a symptom of a significant blockage or vent pipe issue.
- Water Backing Up in Other Fixtures: If flushing a toilet causes water to back up in your bathroom sink or shower, you almost certainly have a main sewer line clog.
When these signs appear, it’s time to seek professional help. A qualified plumber has specialized tools like hydro-jetting equipment and video camera inspection systems to diagnose and resolve complex issues that DIY methods cannot touch. For expert assistance and comprehensive solutions to persistent plumbing problems, we recommend checking out Royal Plumbing sink clog advice. They can provide the advanced diagnostics and repairs needed for serious clogs.
Frequently Asked Questions about Bathroom Sink Clogs
How often should I clean my bathroom sink drain?
For preventative maintenance, we recommend a quick clean of your drain stopper monthly and a hot water flush weekly. A baking soda and vinegar treatment can be done monthly or bi-monthly to keep things clear. If you notice slow draining, address it immediately.
Can I use a plunger on a double-basin sink?
Bathroom sinks typically have a single basin. However, if you have a kitchen sink with two basins, you can use a plunger. You’ll need to seal the second drain with a stopper or a wet rag to ensure proper suction in the clogged basin.
Is it safe to pour boiling water down PVC pipes?
We advise caution when pouring boiling water down drains, especially if you have PVC (plastic) pipes. Extreme heat can soften or warp PVC, potentially leading to leaks or damage. Instead, use very hot tap water, which is usually sufficient to help break down soap scum without posing a risk to plastic pipes. If your sink is porcelain, boiling water can also cause cracking.
Conclusion
A clogged bathroom sink is an inevitable nuisance for many homeowners, but it doesn’t have to be a source of prolonged frustration. As we’ve explored, understanding the common culprits—primarily hair and soap scum—is the first step toward effective resolution.
We’ve walked through a range of DIY methods, from the simple yet powerful plunger technique to the eco-friendly fizz of baking soda and vinegar, and the mechanical precision of a drain snake or zip tool. For more stubborn blockages, we’ve outlined the process of cleaning the P-trap, a common collection point for debris. While chemical drain cleaners exist, we advocate for caution due to their potential risks to pipes and safety.
Empowerment comes from knowledge. By equipping ourselves with the right tools and techniques, we can confidently tackle most bathroom sink clogs. More importantly, by adopting preventative measures—like using drain catchers, regular flushing, and mindful grooming habits—we can significantly reduce the frequency of these unwelcome plumbing challenges.
While DIY solutions are incredibly effective for common clogs, recognizing the signs of a deeper issue is crucial. Persistent problems, multiple slow drains, or unusual noises warrant the expertise of a professional plumber. Armed with this guide, you’re now well-prepared to keep your bathroom sink flowing freely and tackle any clog with confidence.